A typical source of annoyance for plant owners is the appearance of brown tips or edges on plant leaves. These brown tips and edges frequently indicate the presence of underlying stressors such as inadequate watering, environmental imbalances, or nutrient deficiencies. If these browning regions are not handled, they have the potential to spread, which will not only impede growth but also reduce the life of your plant.
The good news is that the majority of the causes can be reversed with strategies that are organic and favorable to plants. In order to restore health and vitality to your plant without the use of synthetic chemicals, you must first gain an awareness of the individual requirements of your plant and then apply targeted solutions. These fixes can range from modifying care routines to employing homemade cures. Explore the following list of fifteen organic techniques that are aimed to combat brown leaf edges. Each of these strategies is intended to address the underlying reasons and foster long-term resilience. What are we waiting for? Let’s solve brown tips/edges on plant leaves with 15 organic solutions.
15 Organic Solutions to Fix Brown Tips and Edges on Plant Leaves
1) Fix Brown Leaf Edges by Adjusting Watering Practices
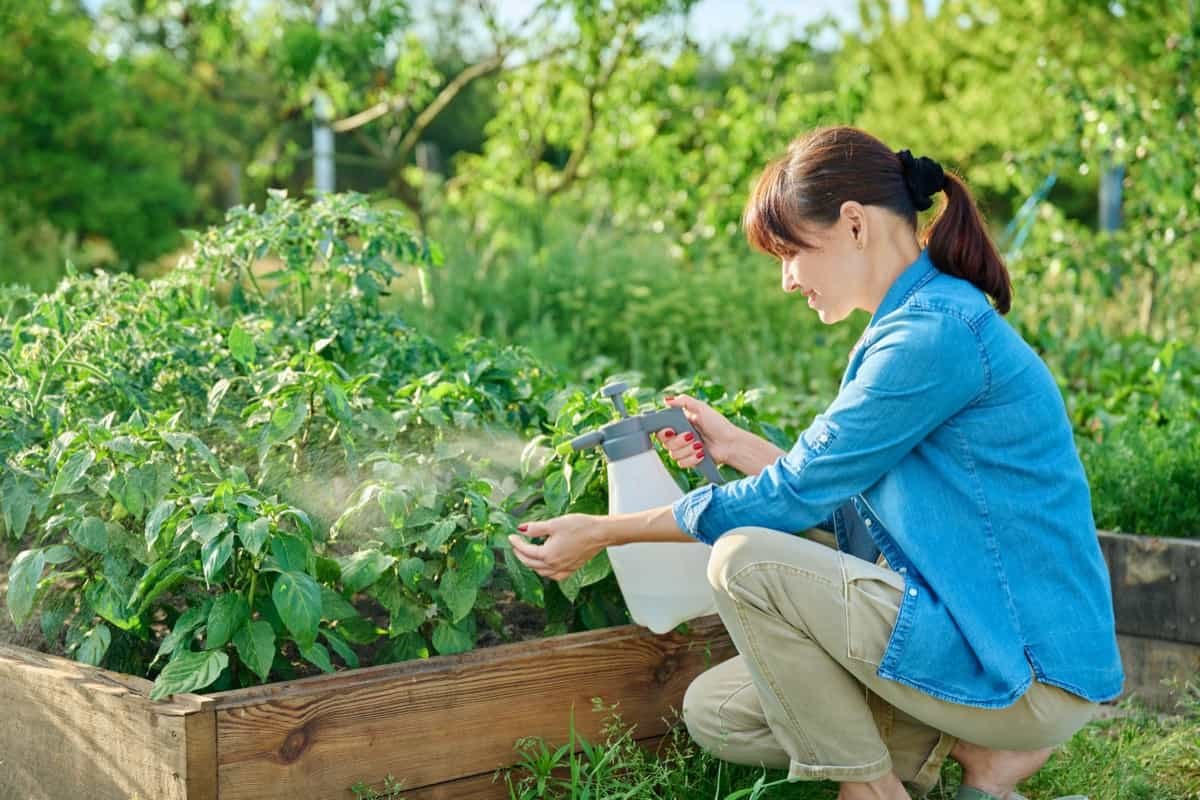
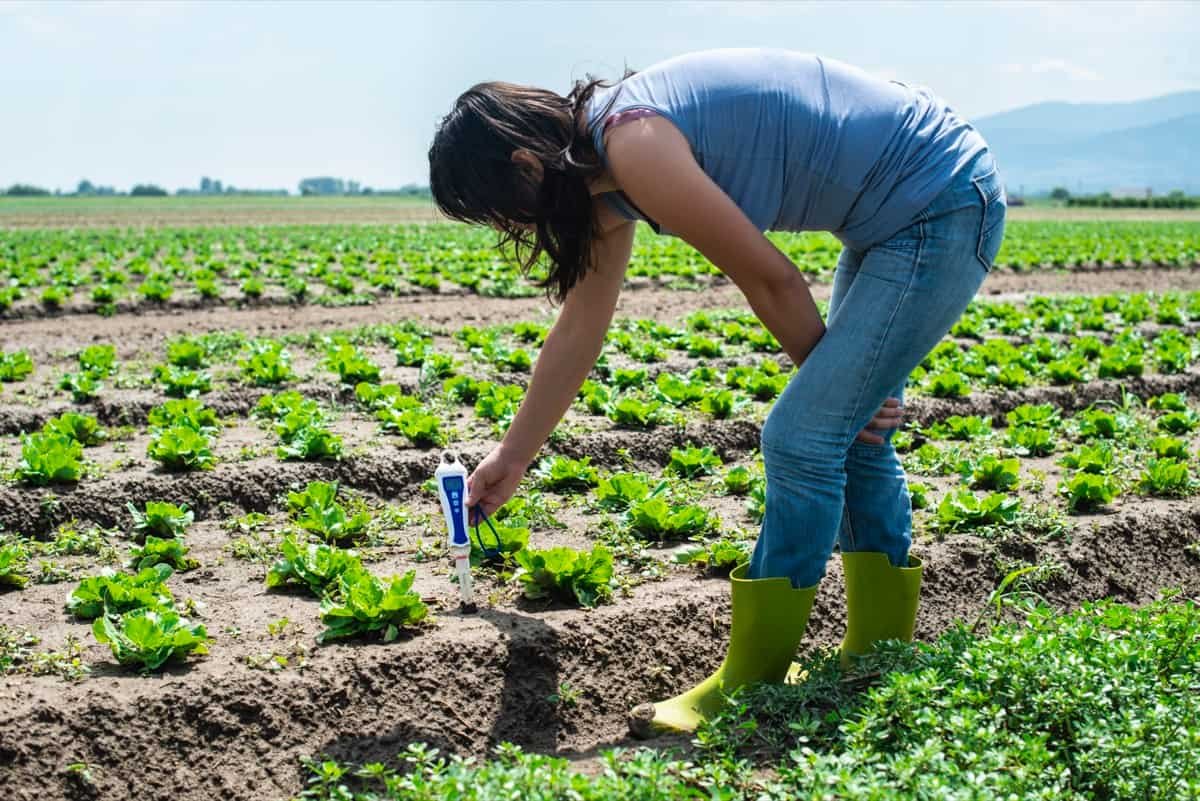
By displacing oxygen, overwatering causes roots to suffocate, while at the same time, underwatering causes roots to be deprived of hydration, both of which result in crispy leaf edges. Consider using the “finger test” to determine your equilibrium: place your index finger two inches into the ground. If it appears to be dry, wet it completely until it is able to drain from the bottom of the pot. If the soil is extremely wet, you should refrain from watering it and instead increase drainage by adding coarse sand or perlite to the soil.

Make sure to check the moisture level of plants that are housed in clay pots on a daily basis. If you want to prevent root rot from occurring, you should avoid letting plants sit in saucers of water. When the growth of most plants slows down during the winter, the frequency of watering should be adjusted accordingly.
| Tips | Actions | Benefits | Precautions |
|---|---|---|---|
| Use a moisture meter | Check soil moisture weekly | Ensures accurate watering | Avoid over-reliance on gadgets |
| Water in the morning | Prevents fungal growth | Reduces evaporation | Avoid evening watering |
| Use terracotta pots | Naturally wicks excess moisture | Improves airflow | Monitor drying speed |
| Ice cube method | Place 1–2 cubes on soil | Slow hydration for small plants | Avoid direct contact with leaves |
| Distilled water | Use for sensitive plants | Prevents mineral buildup | Costlier than tap water |
| Bottom watering | Soak pots in water trays | Hydrates roots evenly | Time-consuming for large plants |
2) Boost Humidity to Prevent Brown Tips on Tropical Plants
One of the most significant causes of browning is low humidity, which is especially problematic for tropical plants such as calatheas and ferns. Compared to the ordinary home, which has a humidity level of 20–30%, these species flourish in humidity levels of 50-60%. For plants that require regular hydration, you can either create a pebble tray or place a humidifier close by. To make a pebble tray, fill a shallow dish with water and stones, then place the plant on top of the dish (making sure the pot does not touch the water).
It is also beneficial to group plants together since they release moisture through a process called transpiration. In order to prevent fungal problems, it is important to avoid misting because droplets evaporate quickly. When dealing with continuous dryness, it is recommended to use a humidity dome for smaller plants, with a modest venting to prevent mold growth.
| Methods | How Often | Best For | Notes |
|---|---|---|---|
| Pebble tray | Daily refill | Ferns, Calatheas | Keep water level below pot |
| Grouping plants | Constant | All tropical plants | Space plants 6-8 inches apart |
| Humidifier | 3-4 hours daily | Large-leaf plants | Use cool-mist models |
| Moss-covered soil | Weekly misting | Orchids, Air Plants | Avoid soggy moss |
| Shower method | Monthly | All plants | Rinse leaves gently |
| Aquarium proximity | N/A | Small plants | Place near, not over, tanks |
3) Filtered vs. Rainwater: Best for Brown Leaf Edges
The chlorine, fluoride, and salts that are commonly found in tap water can accumulate in the soil, causing extensive damage to the roots and producing leaf burn. In order to allow chemicals to evaporate, you should let tap water rest in an open container for twenty-four hours. You might also use filtered water or collect rainwater in a clean barrel as an alternative.
The soil should be flushed by running water through it for five to ten minutes if your plant already has mineral accumulation, which is depicted as a white crust developing on the soil. In the case of delicate plants such as dracaenas or spider plants, it is recommended to completely switch to distilled water. For the purpose of preventing salt accumulation, leach pots on a regular basis every few months.
| Water Type | Preparation | pH Level | Costs |
|---|---|---|---|
| Rainwater | Collect in clean barrels | Slightly acidic (5.5-6.5) | Free |
| Distilled water | Purchase or DIY distillation | Neutral (7.0) | Higher cost |
| Filtered water | Use activated charcoal | Varies by filter | Moderate |
| Spring water | Direct use | Neutral (6.5-7.5) | Expensive for large plants |
| Boiled tap water | Cool after boiling | Removes chlorine | Time-consuming |
| Reverse osmosis water | Install RO system | Very pure (6.0-7.0) | High initial investment |
4) Trim Brown Tips: Organic Pruning for Healthier Plants
The removal of brown tips from a plant helps to prevent further stress and redirect energy to promote healthy growth. Utilize shears or scissors that have been sanitized to prevent the introduction of infections. In order to reduce the amount of scarring, the leaf should be trimmed at a 45-degree angle, following its natural curve. In order to maintain the attractiveness of big regions, the complete leaf should be removed.

Applying a small dusting of cinnamon powder to the cut location, which is a natural antifungal herb, should be done after pruning. Avoid over-pruning; in order to avoid shock, you should never remove more than twenty percent of the foliage all at once. Immediately dispose of any leaves that have been cut in order to discourage pests.
| Tools | Disinfectant | Cut Angle | Aftercare |
|---|---|---|---|
| Pruning shears | Rubbing alcohol | 45 degrees | Apply cinnamon powder |
| Scissors | Hydrogen peroxide | Follow leaf contour | Avoid water on cuts |
| Razor blade | Flame sterilization | Sharp, clean edges | Monitor for new growth |
| Knife | Vinegar solution | Diagonal for thick stems | Keep soil dry post-pruning |
| Nail clippers | Soap and water | Small snips for precision | Remove debris from soil |
| Laser cutter | UV light | Minimal scarring | High-tech option |
5) Homemade Fertilizers for Brown Edges (Nutrient Deficiency Fix)
Insufficiencies in nutrients, particularly potassium, magnesium, or nitrogen, cause plants to become weakened, which results in browning. Compost tea, which contains helpful bacteria, and fish emulsion, which is high in nitrogen, are both examples of organic fertilizers that can be used. Dilute to half the required strength in order to prevent the roots from being burned.In the spring and summer, apply it every four to six weeks; during the winter, not at all. Spraying a foliar feed of diluted kelp extract directly on the leaves is a quick and easy way to remedy problems. If you notice any signs of over-fertilization, such as a white crust or yellowing, you should immediately flush the soil.
| Fertilizer Types | N-P-K Ratio | Application | Seasons |
|---|---|---|---|
| Compost tea | 2-1-1 | Soil drench | Spring/Summer |
| Fish emulsion | 5-1-1 | Foliar spray | Growing season |
| Seaweed extract | 0-0-1 | Weekly spray | Year-round |
| Bone meal | 3-15-0 | Root zone application | Pre-flowering |
| Epsom salt | 0-0-0 (magnesium source) | Monthly soil soak | Spring/Fall |
| Worm castings | 3-2-2 | Topdressing | Year-round |
6) Mulching Tips to Prevent Leaf Browning & Retain Moisture
Mulching with organic materials like as shredded bark, straw, or coconut coir helps to protect moisture, maintain the temperature of the soil, and limit the amount of water that evaporates. Before applying a layer of one to two inches, make sure to avoid coming into direct touch with the stems.
Mulch also decomposes over time, which results in the soil becoming more nutrient-rich. To ensure that it continues to be effective, replace it annually. For the purpose of conserving moisture, the top layer of indoor plants should be composed of attractive moss or small stones.
| Mulch Types | Decomposition Rate | pH Impact | Best Uses |
|---|---|---|---|
| Pine bark | Slow (6-12 months) | Slightly acidic | Acid-loving plants |
| Coconut coir | Moderate (3-6 months) | Neutral | Indoor plants |
| Straw | Fast (2-3 months) | Neutral | Vegetable gardens |
| Wood chips | Very slow (1-2 years) | Neutral | Trees/shrubs |
| Cocoa hulls | Moderate (4-8 months) | Acidic | Flower beds |
| Peat moss | Slow (6-12 months) | Acidic | Soil amendment |
7) Aloe Vera Gel: Natural Remedy for Brown Leaf Recovery
Polysaccharides and antioxidants are found in aloe vera, which are responsible for the repair of plant cells. Take a mature leaf and extract its fresh gel, then combine it with three parts water and strain it. Pour into a spray bottle, and then sprinkle the leaves that are afflicted once a week.
Make a solution of aloe gel and water at a ratio of one to five, and then use this solution to water the plant. Enzymes in the gel defend against fungal diseases while also calming roots that are under stress. To prevent leaf scorch, you should avoid applying the product in direct sunlight.
| Applications | Ratio | Frequency | Best Paired With |
|---|---|---|---|
| Leaf spray | 1:3 (gel:water) | Weekly | Neem oil treatment |
| Soil drench | 1:5 (gel:water) | Monthly | Epsom salt solution |
| Wound dressing | Pure gel | As needed | Cinnamon powder |
| Seed soak | 1:10 (gel:water) | Pre-planting | Compost tea |
| Foliar feed | 1:4 (gel:water) | Bi-weekly | Kelp extract |
| Root dip | 1:2 (gel:water) | During repotting | Mycorrhizae |
8) Dust Leaves Regularly to Stop Brown Edges on Indoor Plants
The stomata (pores) are blocked by dust, which makes photosynthesis and transpiration more difficult. Wipe the leaves using a microfiber towel that has been soaked with water that is lukewarm. Utilize a dry cosmetics brush when working with plants that have fuzzy leaves, such as African violets.

In order to eliminate pests like spider mites, it is necessary to clean both sides of the leaves. Perform this function once a month or whenever dust builds. Make use of a gentle sponge for cleaning plants with big leaves, such as fiddle-leaf figs.
| Tools | Leaf Types | Cleaning Agent | Frequency |
|---|---|---|---|
| Microfiber cloth | Smooth leaves | Lukewarm water | Monthly |
| Soft brush | Fuzzy leaves | Dry method | Bi-weekly |
| Sponge | Large leaves | Mild soap solution | As needed |
| Toothbrush | Textured leaves | Water only | Weekly |
| Air blower | Delicate leaves | Compressed air | Monthly |
| Cotton swabs | Tight crevices | Isopropyl alcohol | Spot cleaning |
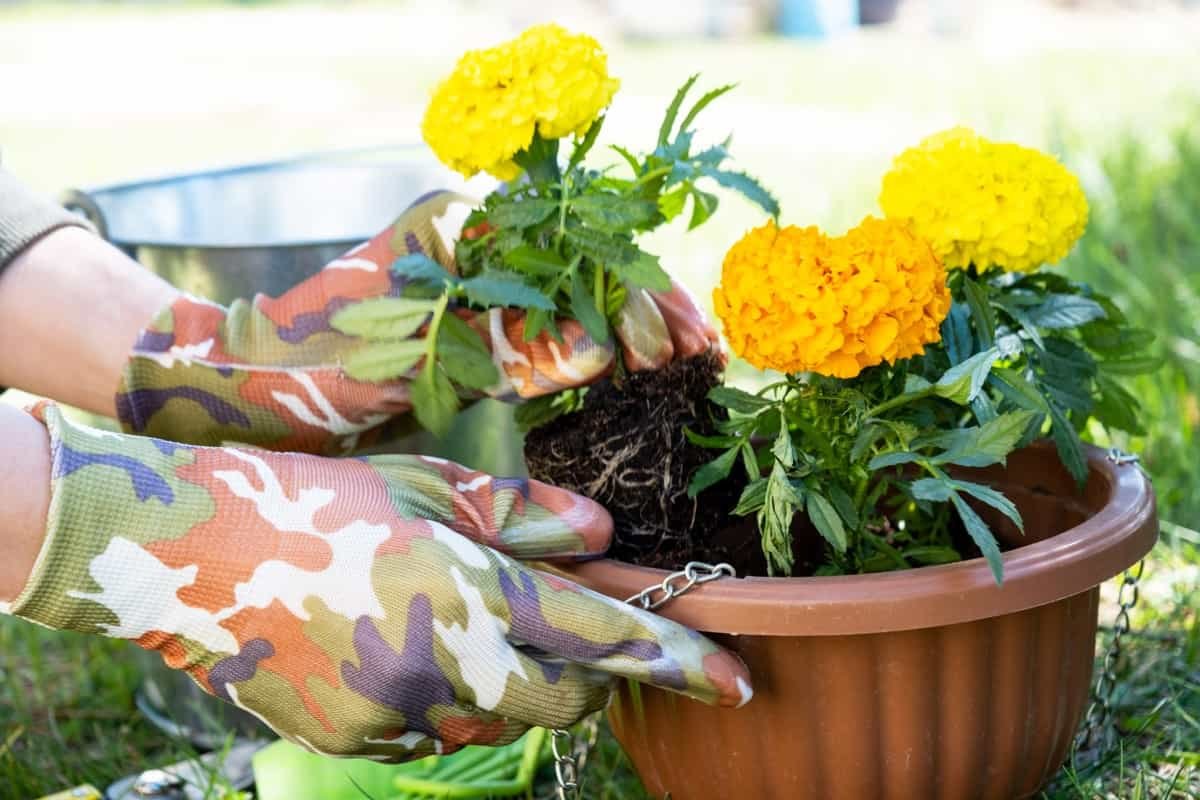
9) Repot with Fresh Soil to Fix Rootbound Brown Leaf Issues
Rootbound plants or soil that has been compacted can both hinder the plant’s ability to absorb water and nutrients. Plants should be repotted in the spring using a fresh mix that drains effectively (for example, peat moss, perlite, and compost). Matted roots should be gently teased apart in order to stimulate new development.
Pick a container that is one to two inches larger in diameter. After the plant has been repotted, it should be protected from direct sunlight for a week and given only a small amount of water.
| Soil Mix | Drainage Additive | pH Range | Best For |
|---|---|---|---|
| African violet mix | Perlite | 5.5-6.0 | Indoor flowering plants |
| Cactus mix | Coarse sand | 6.0-7.0 | Succulents |
| Orchid bark | Sphagnum moss | 5.5-6.5 | Epiphytes |
| Peat-free mix | Coconut husk | 6.0-7.0 | Environmentally friendly |
| Universal potting soil | Vermiculite | 6.0-7.0 | General use |
| Seed-starting mix | Rice hulls | 5.5-6.5 | Seedlings |
10) Cinnamon for Fungal Brown Spots: Natural Plant Care Hack
Cinnamaldehyde, which is extracted from cinnamon, inhibits the growth of fungi. Cinnamon powder can be applied directly to brown patches, or it can be mixed with water to create a paste that can be applied to wider regions. For fungi that are carried by the soil, lightly dust the topsoil.
The powder should not be inhaled, and it should be reapplied after watering. In conjunction with enhanced airflow (for example, a modest fan set to low), dry out wet conditions that are conducive to the growth of mold.
| Form | Applications | Strength | Avoid |
|---|---|---|---|
| Powder | Direct dusting | Strong antifungal | Over-application |
| Paste | Spot treatment | Targeted action | Sensitive plant varieties |
| Soil mix | Top-layer blending | Preventative | Seedlings |
| Spray | Foliar misting | Mild prevention | High humidity environments |
| Wound protectant | Post-pruning application | Infection barrier | Open wounds |
| Compost activator | Mix with decomposing matter | Fungal balance | Overuse in acidic soil |
11) Neem Oil Spray: Organic Fix for Pests & Brown Edges
The feeding of pests and the growth of fungi are both disrupted by neem oil. To create an emulsifier, combine two teaspoons of neem oil, one quart of warm water, and one to two drops of Castile soap. Shake the leaves thoroughly and spray them all, paying particular attention to the undersides.

Use it in the evening to protect yourself from sunburn. Repeat the process once a week until the pests (aphids, mealybugs) or mildew are eliminated. Do a preliminary test on a tiny area to make sure there is no sensitivity.
| Pest Target | Mix Ratio | Coverage | Follow-Up |
|---|---|---|---|
| Aphids | 2 tsp oil/1 quart water | Full leaf coverage | Hose down after 24 hours |
| Spider mites | 1 tsp oil/1 quart water | Undersides focused | Repeat twice weekly |
| Mealybugs | 3 tsp oil/1 quart water | Direct on cottony masses | Use cotton swabs for removal |
| Powdery mildew | 1.5 tsp oil/1 quart water | Affected areas only | Prune severely infected leaves |
| Fungus gnats | Soil drench with mix | Top 2 inches of soil | Let soil dry between uses |
| Scale insects | Pure oil on cotton swab | Spot treatment | Combine with rubbing alcohol |
12) Epsom Salt Solution for Magnesium-Related Brown Tips
Yellowing takes place between veins, followed by browning, when magnesium shortage is present. The Epsom salt should be dissolved in one gallon of water using one tablespoon. Ensure that the roots of the plant are able to absorb the magnesium by watering it until it drains out.
Spraying the solution onto leaves is another option for accelerating the absorption process. Utilize on a monthly basis during the growing seasons, taking care to avoid over-application, which might interfere with calcium absorption.
| Deficiency | Symptoms | Dosage | Complementary Nutrient |
|---|---|---|---|
| Magnesium | Interveinal chlorosis | 1 tbsp/gallon | Calcium (eggshells) |
| Sulfur | Uniform yellowing | 0.5 tbsp/gallon | Compost tea |
| Potassium | Leaf edge necrosis | 1.5 tbsp/gallon | Banana peel tea |
| Iron | New growth yellowing | Foliar spray only | Chelated iron supplements |
| Calcium | Blossom end rot | Avoid Epsom salt | Crushed eggshells |
| Nitrogen | Older leaves yellow first | Use fish emulsion instead | Blood meal |
13) Banana Peel Fertilizer: Potassium Fix for Crispy Edges
There is a high concentration of potassium, phosphorus, and calcium in banana peels. After chopping a peel into little pieces, bury it in the ground at a depth of one to two inches. Alternatively, you can brew a nutrient tea by steeping a peel in water for a period of forty-eight hours.
To water plants once every three weeks, strain the liquid and utilize it. Potassium enhances the strength of cell walls, which in turn reduces tip burn. Steer clear of peels that have noticeable mold on them.
| Preparation | Nutrient Release | Odor Level | Best For |
|---|---|---|---|
| Buried pieces | Slow (2-3 weeks) | Low | Tomatoes, Roses |
| Steeped tea | Immediate (foliar) | Moderate | Leafy greens |
| Blended slurry | Fast (1 week) | High | Fruit-bearing plants |
| Dried powder | Gradual (1-2 months) | None | Indoor plants |
| Fermented mix | Long-term (3-6 months) | Strong | Compost activation |
| Composted | Steady release | Earthy | Soil amendment |
14) Milk for Calcium & Mildew Control: Brown Leaf Solution
Cell structure is weakened when there is a lack of calcium, and powdery mildew is fought off by the proteins found in milk. Every ten days, spray the leaves with a mixture that consists of one part milk and nine parts water. Milk contains lactic acid, which improves the availability of nutrients by gently lowering the pH of the soil.
For the best possible outcomes, use whole milk, and rinse the leaves if any residue has accumulated.
| Milk Types | Fungal Effectiveness | Calcium Content | Drawbacks |
|---|---|---|---|
| Whole milk | High (casein proteins) | 276 mg/cup | Residue risk |
| Skim milk | Moderate | 322 mg/cup | Less effective for mildew |
| Buttermilk | Moderate acidity boost | 284 mg/cup | Strong odor |
| Goat milk | Gentle on leaves | 327 mg/cup | Higher cost |
| Powdered milk | Easy storage | 183 mg/cup (reconstituted) | Clumping in spray bottles |
| Whey | Acidic pH modifier | Low | Over-acidifies soil |
15) Eggshell Powder: Calcium Boost to Prevent Leaf Browning
With the use of a coffee grinder, ground the dry eggshells into a powdery consistency. If you are repotting the plant, sprinkle one to two tablespoons around the base of the plant or mix it into the soil. When it comes to blooming plants, calcium helps to avoid blossom end rot and strengthens the margins of the leaves.

If you want to create a calcium-rich spray, you may either reapply it every two months or steep crushed shells in vinegar for twenty-four hours.
| Preparation | Calcium Availability | pH Impact | Applications |
|---|---|---|---|
| Dry powder | Slow release | Neutral | Topdressing |
| Vinegar steep | Fast absorption | Slightly acidic | Foliar spray |
| Composted | Moderate release | Neutral | Soil amendment |
| Blended with water | Immediate | Neutral | Root drench |
| Burned shells | Trace minerals | Alkaline | Avoid for acid-loving plants |
| Mixed with coffee grounds | Balanced nutrition | Slightly acidic | Vegetable gardens |
Conclusion
In order to address brown leaf margins, patience and a specialized strategy are required, as many elements frequently overlap. Begin by conducting a soil moisture test, determining the levels of humidity, and conducting a pest inspection. Combine the necessary modifications, such as repotting the plant in new soil while simultaneously modifying the amount of water it receives.


Leave a Reply