Hello gardeners, today we we back with 15 reasons your seeds fail to sprout and proven stratagies to fix seed germination problems. It is a dream of every gardener to see their seeds sprout into solid plants, but there are instances when those seeds refuse to sprout, leaving you perplexed and disheartened. It is vital to have a solid understanding of the reasons your seeds fail to sprout in order to transform failure into success. Germination can be prevented by a wide variety of causes, including but not limited to low seed quality, wrong planting depth, and unfavorable environmental circumstances. Creating the ideal conditions for the growth and development of your seeds is possible if you first recognize the obstacles that you face and then put into action techniques that are proven to be effective.
15 Reasons Your Seeds Won’t Germinate and How to Guarantee Success
1. Why Are My Seeds Not Sprouting? The Truth About Poor Seed Quality
The poor quality of the seeds is one of the most prevalent reasons why they do not germinate on their own. The viability of seeds can be lost over time if they are damaged, old, or if they have been stored in an incorrect manner. A extended period of storage in adverse conditions, prolonged exposure to dampness, or severe temperatures are all potential causes of this phenomenon. Always make sure to acquire seeds from trustworthy sources who guarantee both their freshness and their quality in order to resolve this issue.
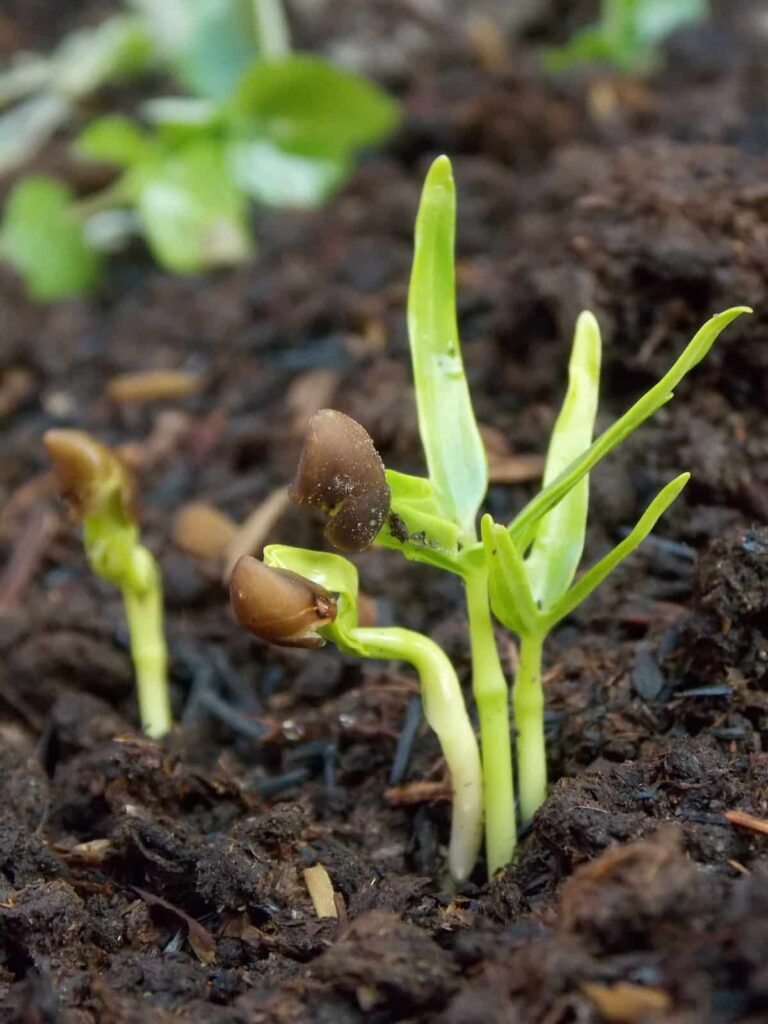
- Conduct a germination test before planting: Place a few seeds on a damp paper towel and observe sprouting within a week.
- If fewer than seventy percent of the seeds germinate, consider replacing them with a new batch.
| Seed Quality Issue | Cause | Solution |
|---|---|---|
| Poor viability | Old seeds, improper storage | Purchase fresh seeds from reputable suppliers |
| Low germination rates | Damaged or expired seeds | Conduct a germination test; replace seeds if <70% sprout |
2. How Soil Temperature Affects Seed Germination (And How to Fix It)
In order for seeds to successfully germinate, the soil temperature must be at a certain level. Planting seeds in soil that is either too cold or too hot might be detrimental to their growth. As an illustration, warm-season crops such as tomatoes require soil temperatures ranging from 70 to 85 degrees Fahrenheit (21 to 29 degrees Celsius), whereas cool-season plants such as lettuce flourish at temperatures that are lower.
- Monitor soil conditions using a soil thermometer before planting.
- Warm up cold soil with row covers, cloches, or heating mats. Shade the area or water lightly if the soil is too hot.
| Crop Type | Optimal Soil Temperature (°F) | Optimal Soil Temperature (°C) | Remedy for Incorrect Temperature |
|---|---|---|---|
| Warm-season crops | 70-85 | 21-29 | Use row covers, cloches, or heating mats |
| Cool-season crops | 45-70 | 7-21 | Shade the area or lightly water the soil |
3. Overwatering vs. Underwatering: Finding the Right Balance for Seed Success
Water is an essential component in the process of seed germination; nevertheless, failure can occur when the seeds are either overwatered or underwatered. Underwatering inhibits seeds from receiving sufficient moisture to activate enzymes that are important for growth, while overwatering causes seeds to decay before they have a chance to sprout. Both of these practices are detrimental to the growth of seeds. The objective is to keep the moisture levels of the environment consistent and moderate.
- Use well-draining soil and water gently to avoid disturbing the seeds.
- For small-scale projects, use a spray bottle; for larger gardens, use drip irrigation to ensure even hydration.
| Issue | Cause | Symptoms | Solution |
|---|---|---|---|
| Overwatering | Excess moisture | Seeds rot, fungal growth | Use well-draining soil; water sparingly |
| Underwatering | Insufficient moisture | Seeds dry out, no sprouting | Maintain consistent moisture; use a spray bottle |
6. The Role of Soil Fertility in Seed Germination (And How to Boost It)
A lack of proper soil fertility is another factor that may contribute to unsuccessful germination. Due to the fact that seeds require nutrients in order to fuel early growth, soil that is lacking in nutrients may not supply sufficient energy for the seeds to sprout. Conduct a soil test to determine the deficiencies, and then make the necessary adjustments. Creating a nutrient-rich environment that is suitable to germination can be accomplished through the use of balanced fertilizers or organic materials such as aged manure among other things.
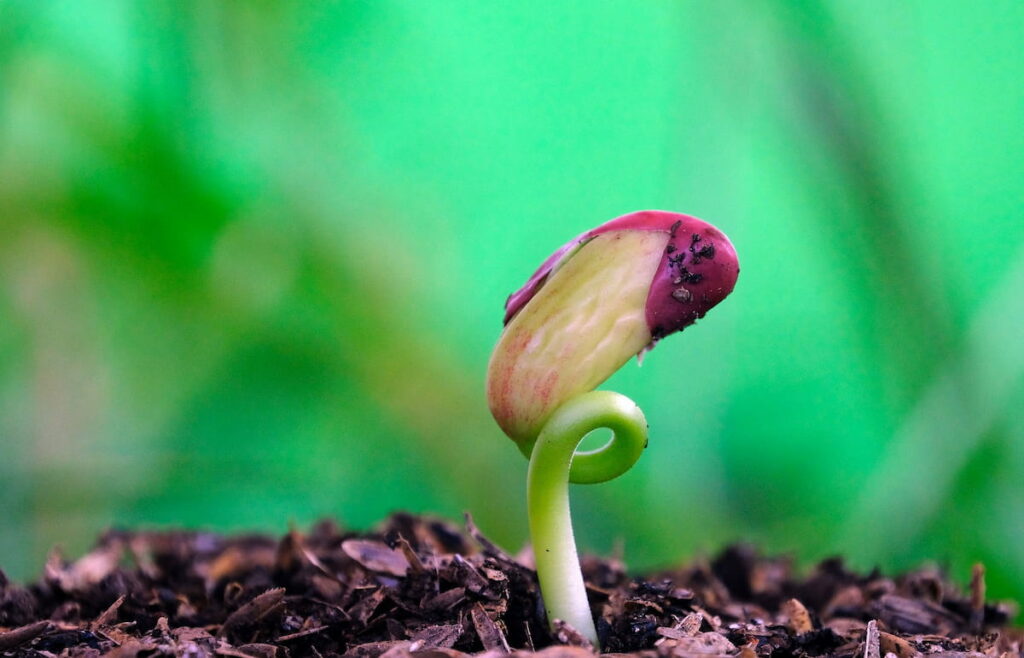
- Test your soil to identify nutrient deficiencies.
- Add compost, aged manure, or balanced fertilizers to improve soil fertility.
| Nutrient Deficiency | Impact on Seeds | Solution |
|---|---|---|
| Nitrogen | Poor root development | Add compost or balanced fertilizer |
| Phosphorus | Weak sprouting | Use bone meal or rock phosphate |
| Potassium | Stunted growth | Apply wood ash or potassium sulfate |
7. How Deep Should You Plant Seeds? Avoid This Common Mistake
Making the mistake of planting seeds at an improper depth is another common blunder. In order to plant certain seeds, it is necessary to plant them close to the surface, while other seeds must be planted deeper. For direction, please refer to the instructions on the seed packet. Plant seeds at a depth that is approximately twice as deep as their diameter, as a general rule. Instead of burying the seeds deeply, it is better to sprinkle them lightly on top of the soil and then spritz them with water; this will help them germinate.
- Follow seed packet instructions for planting depth.
- As a general rule, plant seeds at a depth twice their diameter.
| Seed Size | Recommended Planting Depth | Example Crops |
|---|---|---|
| Small seeds | Surface or 1/8 inch deep | Lettuce, carrots, petunias |
| Medium seeds | 1/4 to 1/2 inch deep | Beans, radishes, basil |
| Large seeds | 1 to 2 inches deep | Peas, squash, sunflowers |
8. Protecting Your Seeds from Pests: Proven Strategies That Work
Insects, birds, and rats are examples of pests that can eat seeds or cause damage to growing seedlings, which can result in the seeds not germinating properly. Covering planting areas with netting, row covers, or wire mesh will protect your seeds from falling through the cracks. Deterrents such as luminous tape or natural repellents are another option for preventing bugs from entering your dwelling. Visit your garden on a regular basis to look for any indications of pest activity, and if you find any, take prompt action.
- Use netting, row covers, or wire mesh to protect seeds.
- Apply natural repellents or traps to deter pests.
| Pest Type | Damage Caused | Prevention Method |
|---|---|---|
| Birds | Eat seeds | Use netting or row covers |
| Rodents | Dig up seeds | Install wire mesh barriers |
| Insects | Damage seedlings | Apply natural repellents or traps |
9. Preventing Fungal Diseases During Germination: Tips for Healthy Seeds
There are pathogens in the soil that can cause diseases, and these pathogens can attack seeds and prevent them from germinating. It is especially hazardous for young seedlings to be affected by fungal illnesses such as damping-off infestation. When beginning seeds inside, it is important to prevent overwatering and to use sterile potting mix. This will help limit the risk. Rotating crops on a yearly basis helps to reduce the accumulation of pathogens, and sanitizing tools and containers on a regular basis helps to prevent infection.
- Use sterile potting mix when starting seeds indoors.
- Rotate crops annually and sanitize tools regularly to reduce pathogen buildup.
| Disease | Cause | Prevention |
|---|---|---|
| Damping-off | Overwatering, poor air circulation | Use sterile soil; avoid overwatering |
| Root rot | Waterlogged soil | Ensure proper drainage |
| Fungal infections | Contaminated tools or soil | Sanitize tools; rotate crops |
10. What Is Seed Scarification, and Why Does It Matter?
There are some seeds that have tough exterior coverings that prevent them from absorbing water, which makes germination more difficult. It is possible to circumvent this barrier by scarification, which involves scratching or nicking the seed coat. In order to soften the coating, you can either use sandpaper, a nail file, or immerse the seeds in warm water for a whole night. Avoid causing any harm to the seed itself while you are going through this process.
- Use sandpaper, a nail file, or soak seeds in warm water overnight to soften the seed coat.
- Be cautious not to damage the seed during scarification.
| Seed Type | Scarification Method | Examples |
|---|---|---|
| Hard-coated seeds | Sandpaper or nail file | Lupines, sweet peas |
| Thick-coated seeds | Soak in warm water overnight | Morning glories, nasturtiums |
11. Weeds Are Stealing Your Seeds’ Resources—Here’s How to Stop Them
Weeds that are in competition with other plants for resources can inhibit the germination of seeds by consuming nutrients, water, and sunlight. Before planting seeds, remove any weeds that may be present in the planting area, and then apply mulch thereafter to prevent the growth of any new weeds. If you want your seedlings to have the best possible chance of thriving, you should pull any weeds that grow close to them by hand.
- Remove weeds from the planting area before sowing seeds.
- Apply mulch to suppress weed growth and hand-pull any weeds near seedlings.
| Weed Control Strategy | Action | Benefit |
|---|---|---|
| Pre-planting cleanup | Remove existing weeds | Reduces competition for resources |
| Mulching | Apply mulch after planting | Suppresses new weed growth |
12. The Importance of Timing: When to Plant Seeds for Maximum Success
It is possible for seeds to fail to germinate if they are planted at an inappropriate time, particularly if they are planted too early or too late in the current season. Make sure you are aware of the dates of frost and the growing seasons that are peculiar to your region. When determining the best time to plant each variety of seed, it is recommended to make use of a planting calendar or to consult gardening resources available in the area. Seed starting in an indoor environment might lengthen the growing season for certain types of crops.

- Use a planting calendar or consult local gardening resources to determine the best planting time.
- Start seeds indoors to extend the growing season for certain crops.
| Season | Examples of Crops | Planting Time |
|---|---|---|
| Spring | Lettuce, spinach, peas | After last frost date |
| Summer | Tomatoes, peppers, cucumbers | After soil warms up |
| Fall | Kale, broccoli, carrots | 6–8 weeks before first frost |
13. How Fluctuating Weather Conditions Impact Seed Germination
The germination process can be hampered by environmental factors that are not stable, such as temperature or humidity levels that are constantly changing. For the purpose of maintaining stable conditions, regulated facilities such as greenhouses or grow lights should be utilized. If you are planting seeds outside, it is important to select protected sites that will protect them from severe weather fluctuations. For the purpose of guaranteeing continuous progress toward sprouting, consistency is essential.
- Use greenhouses or grow lights for stable indoor conditions.
- Choose sheltered outdoor locations to protect seeds from extreme weather.
| Environmental Factor | Impact on Germination | Solution |
|---|---|---|
| Temperature fluctuations | Delays or prevents sprouting | Use row covers or controlled environments |
| Humidity changes | Causes drying out or rotting | Maintain consistent moisture levels |
14. Chemical Residues in Soil: A Hidden Cause of Germination Failure
Seeds can be harmed and prevented from germinating if the soil contains chemical residues, such as those left behind by herbicides or pesticides. Conduct a chemical contamination test on your soil if you have any reason to believe that this could be a problem. If there are chemicals present, the soil should be leached with a large amount of water or completely replaced with soil that is pure and free of contamination. If you want to avoid damaging future plantings, you should always follow the recommendations on the label when applying chemicals.
- Test soil for chemical residues if contamination is suspected.
- Leach soil with water or replace it entirely if chemicals are present.
| Chemical Residue | Effect on Seeds | Remedy |
|---|---|---|
| Herbicides | Prevent germination | Leach soil or replace it entirely |
| Pesticides | Harm seedlings | Test soil; follow label instructions |
15. Patience Pays Off: Why Some Seeds Take Longer to Germinate Than Others
In conclusion, impatience can occasionally cause gardeners to incorrectly conclude that seeds have failed when, in reality, they merely require further time. Time it takes for seeds to germinate varies greatly depending on the species; some seeds may germinate in a matter of days, while others may take weeks or even months. It is important to conduct research on the anticipated time frame for your seeds and to avoid the impulse to disturb the soil too soon. In order to achieve successful germination, patience and perseverance are frequently rewarded.
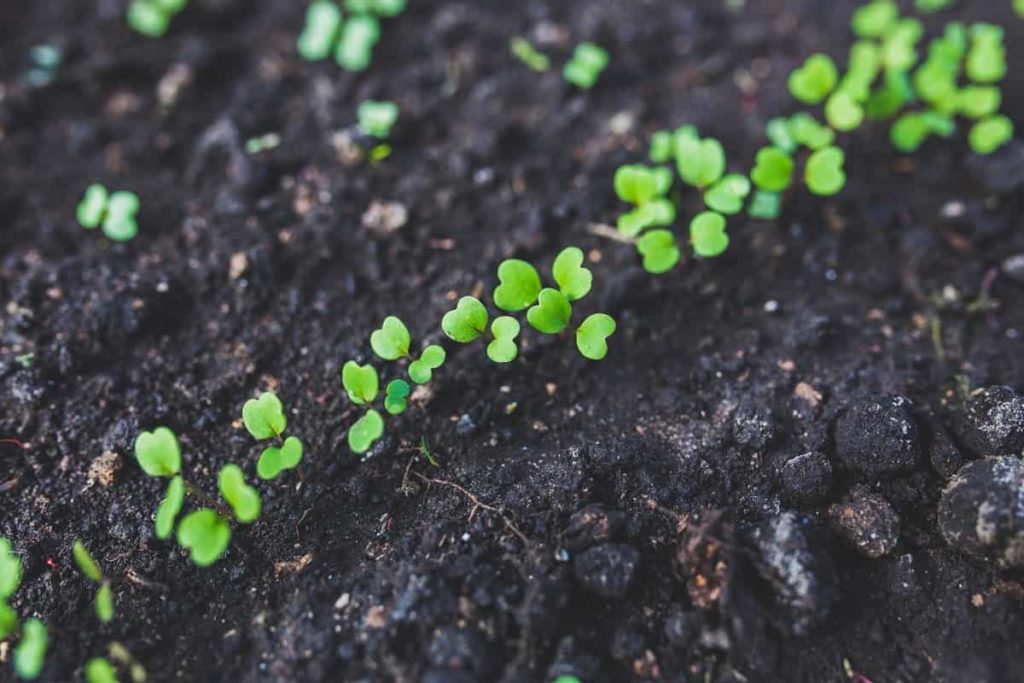
- Research the expected germination time for your specific seeds.
- Avoid disturbing the soil prematurely and allow sufficient time for sprouting.
| Seed Type | Germination Time | Examples |
|---|---|---|
| Fast germinators | 3-7 days | Radishes, lettuce, beans |
| Slow germinators | Weeks to months | Parsley, carrots, some perennials |
Conclusion
In the journey of gardening, recognizing the reasons your seeds fail to sprout is key to achieving consistent success. From ensuring proper soil temperature and moisture levels to protecting seeds from pests and chemical residues, addressing these issues with care and precision can make all the difference. Patience and persistence are just as important as the techniques you employ. By applying the foolproof strategies outlined here, you’ll not only overcome common obstacles but also set the stage for a bountiful and rewarding growing season. Remember, every seed holds potential—unlocking it is simply a matter of understanding and preparation.






Leave a Reply